The Bent Rudder

On our epic trip down the coast, things went so smooth… the weather was great, the engines purred. The only real issue was when we were traveling around Point Conception, we totally lost steering for a bit. For a few minutes, it was near impossible to turn the steering wheel and then over the next 20 minutes, it became possible to steer, but the steering was extremely jerky.
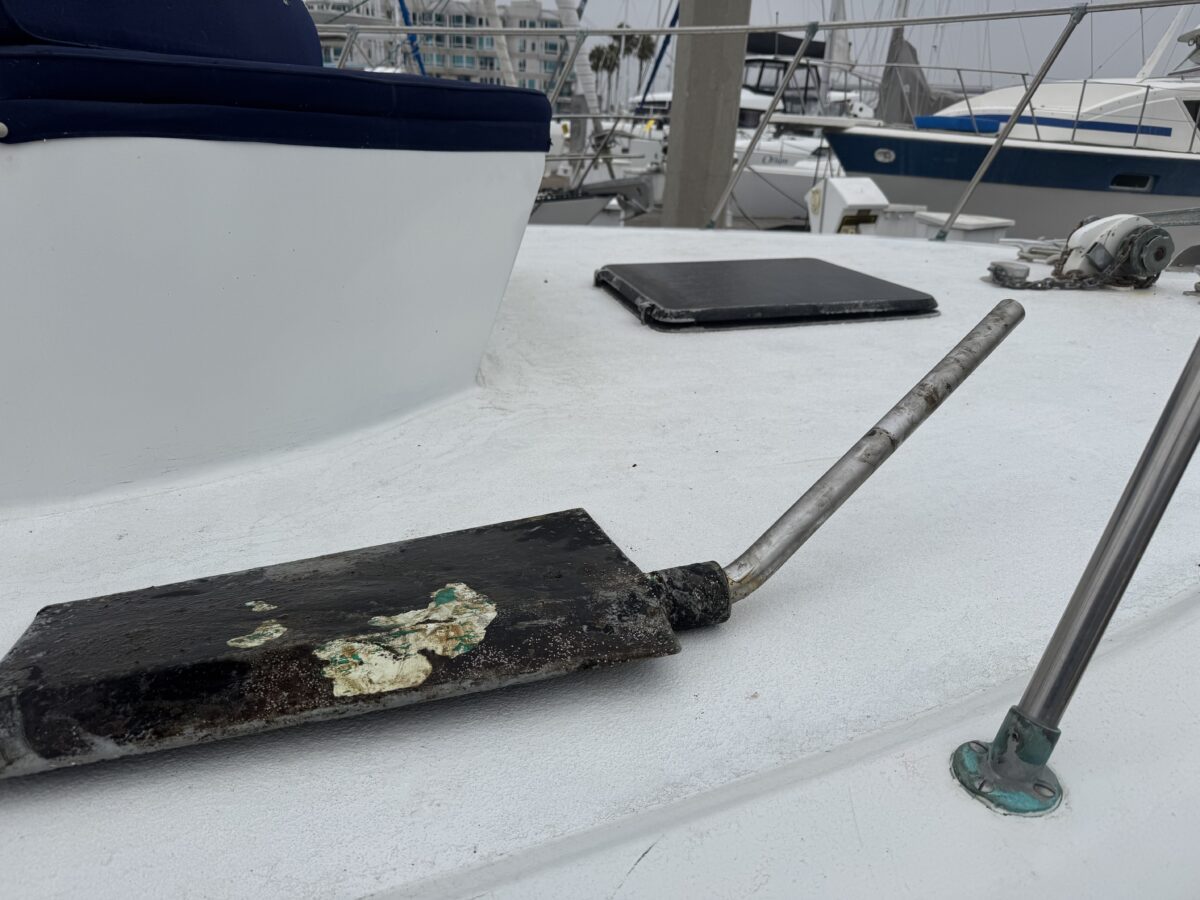
It turns out, we had likely been driving with a bent rudder the entire time… It may have been bent when we were coming around point conception, but there’s lots of reason to think it was already bent when we left Sacramento. It’s more likely the bent rudder locked up when we hit some kelp… or some similar issue.
When we parked the boat in it’s final home in Marina del Rey, one of my first tasks was to get a diver to look at the rudder and let me know what, if anything, was wrong.
Of course, he came up with a shocked look on his face when he saw the 30 degree bend in the steel shaft and couldn’t believe we were able to drive the boat at all!
So, the next 8 weeks turned into me learning all about rudders and getting to know some old-school boat people in the Long Beach/Wilmington area. In particular, Ryan from the Wilmington Iron Works was just as helpful as could be and sent me in the right direction on a handful of fronts.
Phase 1 – Getting the Rudder Built
The adventure of fixing the rudder started with a recommendation from my uncle that I reach out to Dennis Choate of Diversified Composits. Google shows their business is closed, but I can confirm having been to their shop that they are definitely still in business and building beautiful sailboats. Interestingly, I’m told Dennis was super helpful in giving advice/tips to my grandfather when he was building the boat, so it was a great place to start.
However, after examining the bent rudder, Dennis’s team sent me off to get advice from Ryan Richards of Wilmington Iron Works . They knew he’d be super helpful at telling me if we could fix the rudder or simply needed to get a new one built.
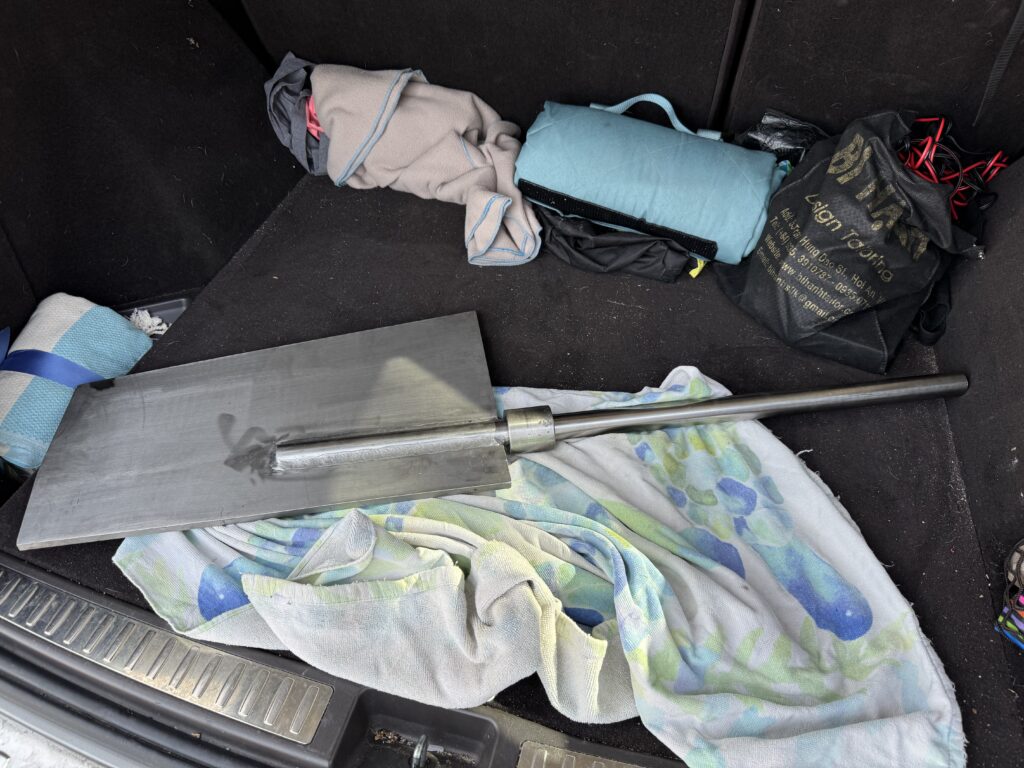
Ryan recommended we build a new rudder from scratch. He worried that if we tried to straighten the steel out on the other rudder, that it wouldn’t be nearly as strong and might not be able to be straightened enough anyway. Plus, he’d have to peal off the fiberglass portion of the rudder regardless in order to straighten the shaft, so we’d have to rebuild the rudder anyway.
The initial idea was to copy the previous rudder completely, which would involve having the team at Wilmington Iron Works build a skeleton for the rudder and then return to Diversified Composits to have them add the fiberglass overlay. However, I asked Ryan to give me a quote on building a steel rudder from steel (no fiberglass), which he did.
In talking with the team at Diversified Composits, they recommended I go with the “all steel” option from Ryan, even though that means I will have two different rudders with different weights (the stainless steel rudder is at least 5 pounds heavier). They assured me the weight difference won’t make a real difference with the size of the Avalon and they were pretty backed up with work, so this would get me a rudder much faster.
Once we agreed to have the new rudder built, things went fast. Within a week, Ryan had a beautiful all-steel rudder built and ready to be picked up, except…

Phase 2 – Getting the notches right
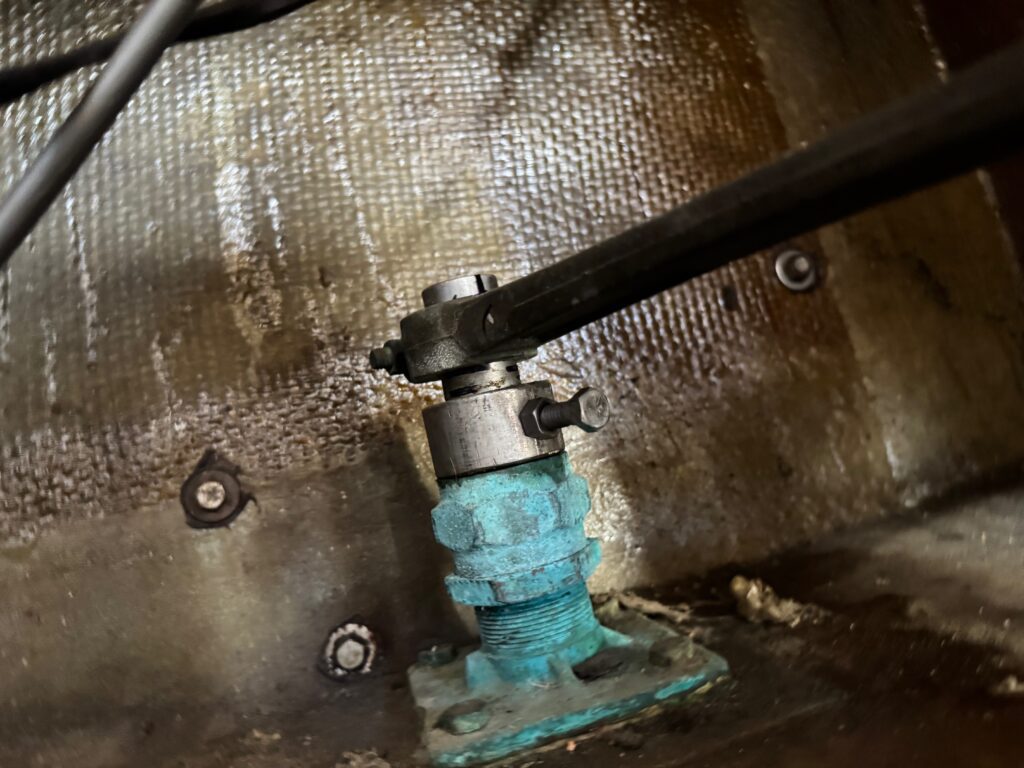
When I was picking up the rudder, Ryan let me know that the original notches were missing two key things… 1) A dimple for the collar bolt to screw into and 2) a keyway for the key to fit into.
Being brand new to these things, it took me at least two conversations with him before I really understood the issue.
It turns out that while my grandfather did so many amazing things with the boat, he somehow avoided a major potential issue when he never added a dimple or keyhole on the original rudders. Especially without the dimple, there was only a bolt against a round stainless steel shaft holding those rudders up for the past 50 years! Plus, without the keyhole, the potential to have the steering arm slip on the shaft was huge (and based on some markings, it seemed clear it had slipped at some point in the past.
It quickly became clear to me that I needed to get the two notches cut into the shaft… However, it was also clear, that it was totally unclear how far up the shaft we need to put the dimple in and how far down we needed the keyway to go.
To solve this issue, we had to have the diver return to put the rudder in, mark it up and then take it out so I could return to Wilmington to have it notched out.
It’s such a tight space, that marking up the rudder for the appropriate dimple (for the collar) was more art than science. The diver would push the rudder up as far as he could go… knock on the bottom of the hull three times and then I’d do my best to measure exactly how far up the post went.
At first we tried to mark everything up with a blank sharpie, but that didn’t last going through the packing glands, so we just marked all the appropriate lengths on a piece of cardboard and marked up the rudder later

Then, when the rudder was out, I’d reverse engineer where the collar would sit, where the dimple needed to be, where the steering arm would sit and where the keyway would needed to be.
What a pain!
Phase 3 – Cuts and more cuts
As part of the process of measuring things, we learned something else… The bow side of the new rudder was about a half-inch too long. In a nutshell, Ryan had built the new rudder to have the same dimensions at the top of the rudder as the old rudder and then he simply did a straight now down parallel to the shaft.
However, my grandfather had designed his rudder to taper down about a half-inch at the bottom…
I’m told that in almost every case, this wouldn’t be an issue as there’s normally about 3 to 4 inches between the bow side of the rudder and the propellers, but my grandfather had designed this set up so that there’s not even 1/2 inch. It’s super tight in there and without the tapering on the bow side of the rudder, the rudder was rubbing against the propeller shaft.
Good news is that we did get it all measured up and I was able to get the rudder back to Ryan. He agreed to taper the new rudder so that it’d fit.
For obvious reasons, we wanted to have the dimple and the keyway cut into the existing starboard rudder as well and Ryan agreed to cut those up as well!
Overall, one of the more painful parts of this process was simply the time things took. It would often take a few days to schedule the diver, a few days for me to have time to drive down to Wilmington and a few days for Ryan to ramp up his team… The result is that it took at least four weeks between the time the rudder was initially built and we were ready to install the two rudders. back in the boat.
Phase 4 – Reinstalling the rudder
Installing the rudder was a bit of a pain mainly because we were doing this while the boat was still in the water. This meant the diver had to push hard on the rudder to get it up enough for the collar to be in position where the screw would fit in the dimple. We really didn’t have but maybe an eighth of an inch extra, so it took a few tries. But once we got a strategy in place for the port side rudder, the starboard side went smoothly.
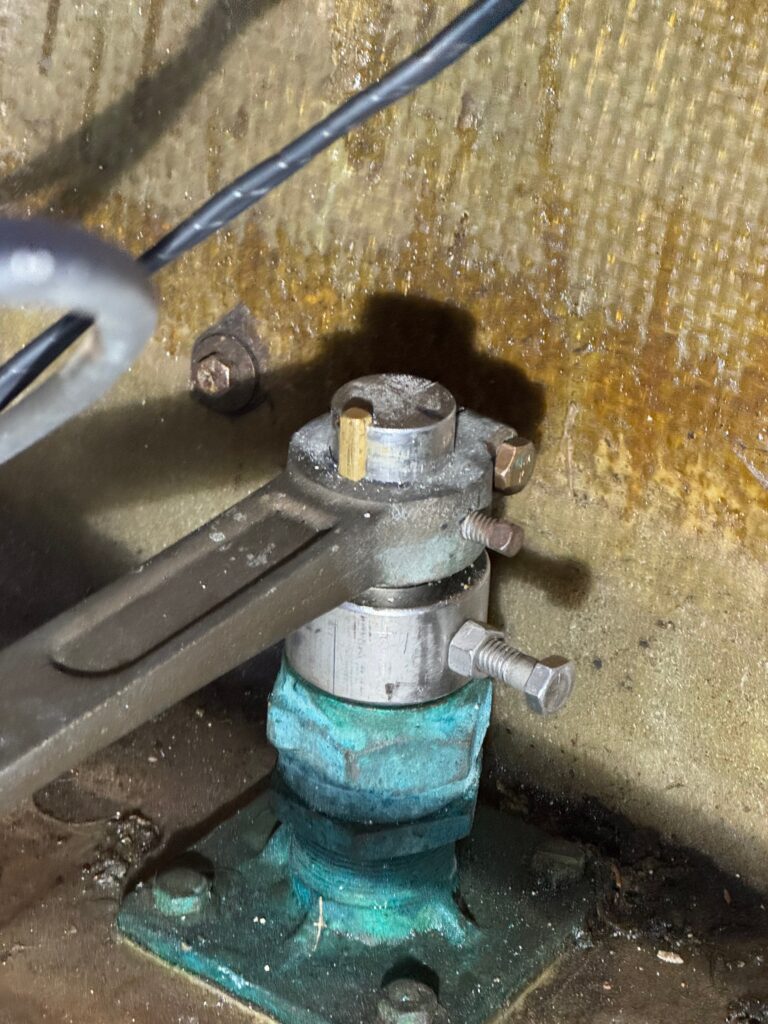
I was able to get the collar on, then it was simply a matter of aligning the two rudders up so that the steering columns were on correctly.

Of course, there were a ton of small complications (such as breaking both a brass bolt on the steering arm and a brass cotter pin, but those were small issues and relatively easy to resolve.
Worth noting:
- The diver was so darn patient, knowledgeable and helpful. If anyone in the Marina del Rey area, ever needs a diver, I highly recommend Steve from Hullworkz.
Excellent. Your writing is so clear and the photos are great 👍